Tutorial: How to use the new alpha channel feature for perfect passthrough AR videos
DeoVR's game-changing passthrough AR video feature took a huge leap forward with the release of the alpha channel feature.

Want to make perfect passthrough AR videos? Our team have created an easy-to-follow video tutorial on using the alpha channel passthrough feature:
AR Passthrough works best on the Quest 3S and Quest 3 headsets. It also works on the Quest Pro (stereoscopic color passthrough and the Pico 4 (monoscopic color passthrough). It is compatible with the Quest 2 and Valve Index, but not recommended as it is monoscopic black and white. Passthrough is not yet compatible with Oculus Link to PCVR or the VIVE XR Elite headset.
We also have full written instructions available for creators and technical instructions below.
What is Alpha Channel Passthrough?
The most recent and advanced version of passthrough is called alpha passthrough and requires creating an embedded alpha channel inside of the video.
It's a more complex method but allows better control of the quality and doesn't require any settings for preview. Simply click a button to switch between passthrough and non-passthrough. Currently, it only works only with fisheye projection VR video as it packs the alpha channel next to fisheye circles.
Benefits:
- It offloads the greenscreen/background removal into post-production, meaning the headset results look much better. For example, no more losing fine details like hair. Creators are now free to color correct the footage without worrying if it will affect the chroma key operation in the app.
- Add an alpha channel to any video, converting it into an optional passthrough version. With the advent of AI background removal tools, it is only a matter of time before you are able to get high-quality mattes of anything you choose.
How to create the alpha channel layout:
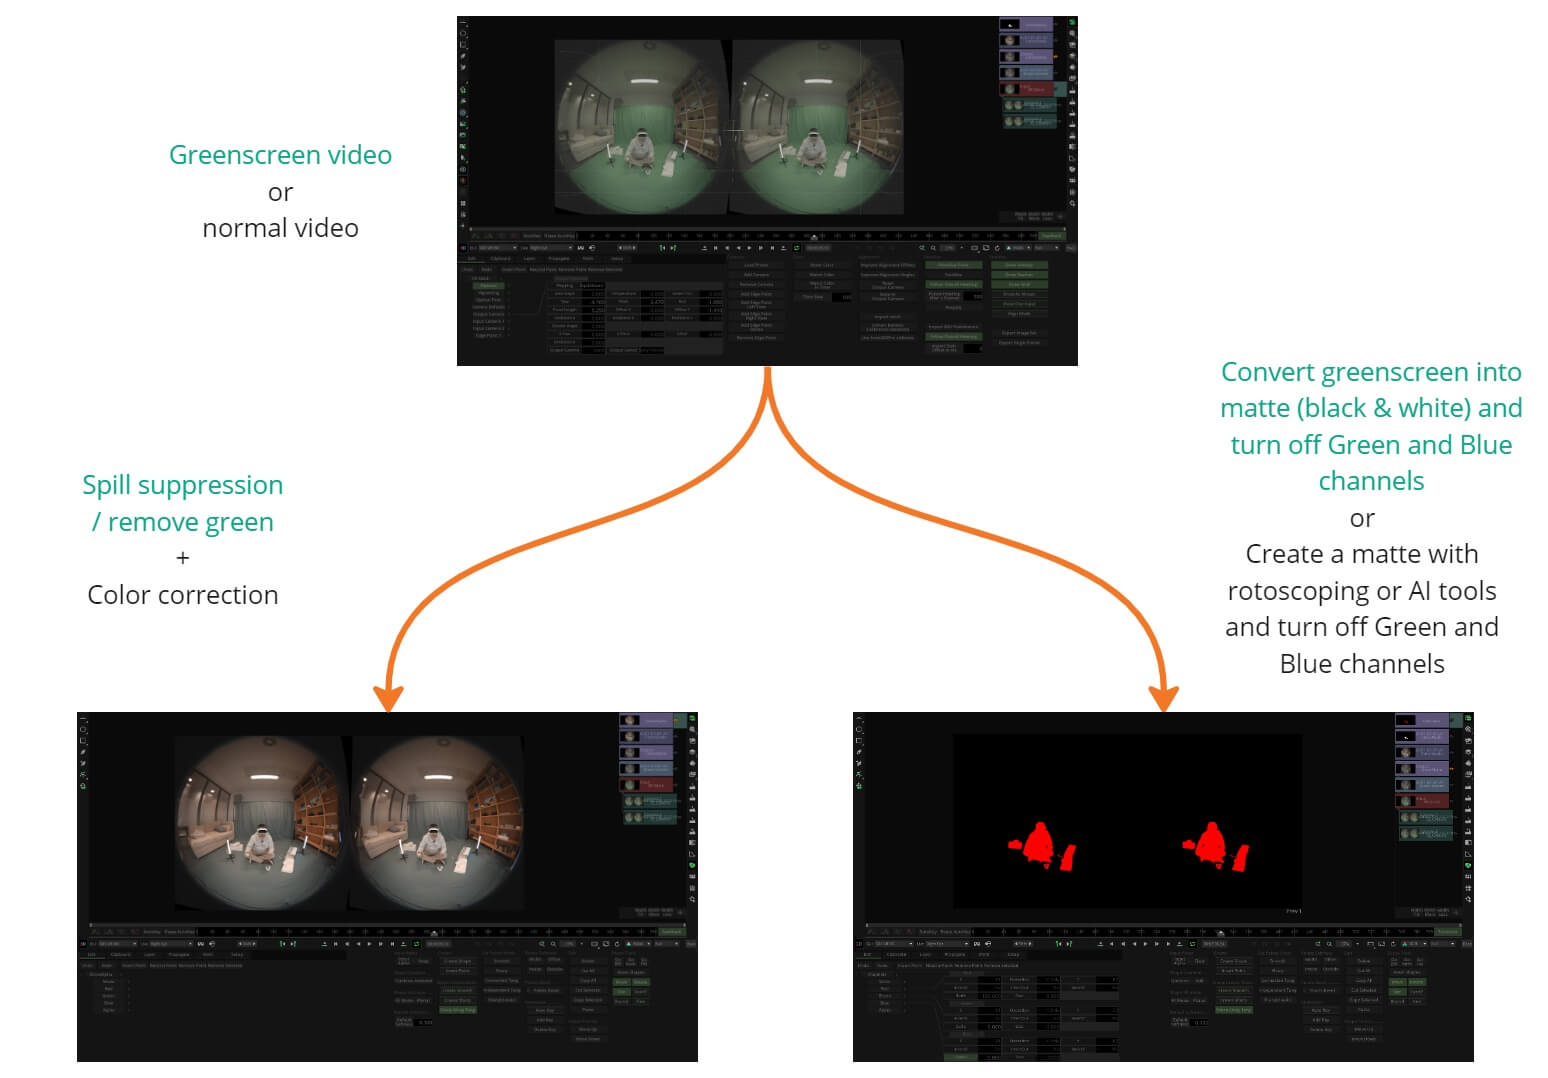
In your compositing software, export a normal video where you suppress the green color, and another version with just alpha as black and white (later, we will use only the red channel) at the same size and length as the normal video.

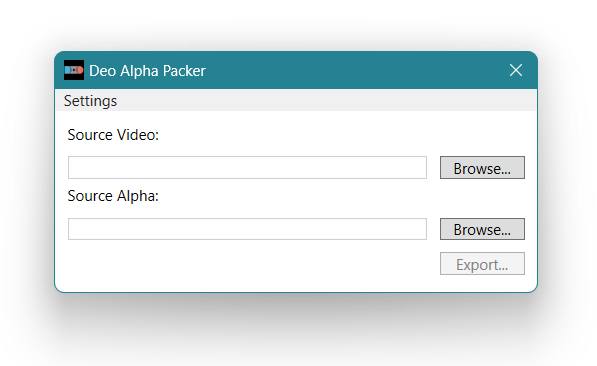
Use our tool to pack the alpha channel into your fisheye VR video:
Download: Deo-Alpha-Packer.zip
- Upack the zip and run the Deo-Alpha-Packer.exe
- Under the settings menu, make sure to link/install FFMPEG
- Load the Color and Alpha videos into their respective fields and run "Export"

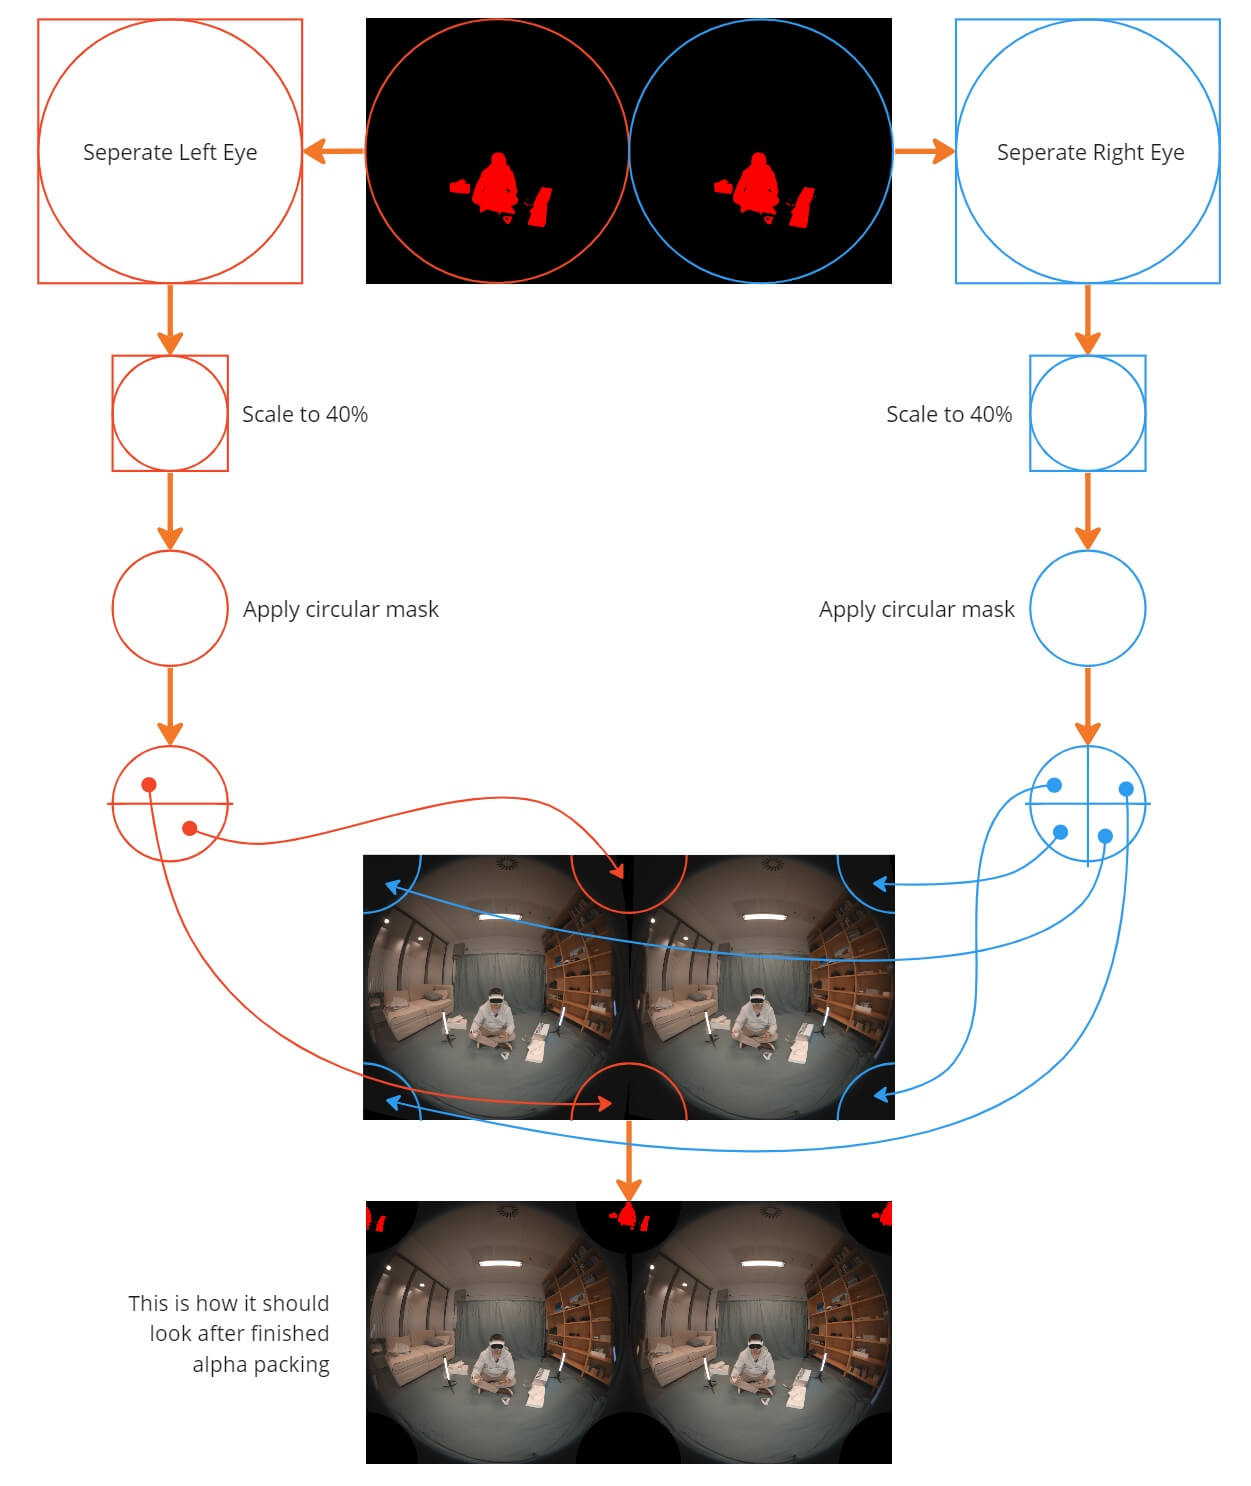
Alternatively, pack it yourself in a compositing software following this diagram:

Important! The final step is to add _ALPHA to the file name before uploading, or switch the "Has Alpha" option ON.
Please note: If the user plans to download your video to view in the DeoVR app (instead of streaming), they must ensure the filename contains the _ALPHA text. This is required for alpha passthrough to work correctly.
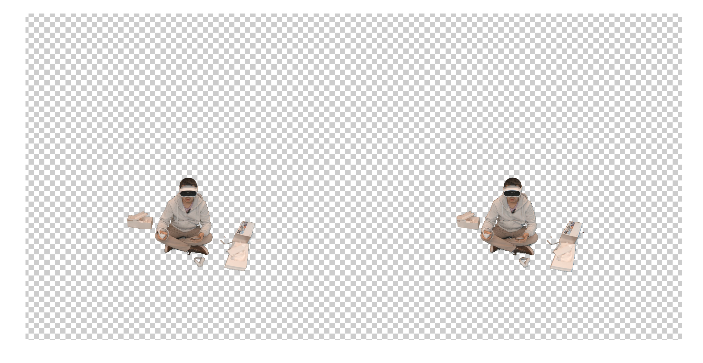
Done! Now, the DeoVR player will show the video with perfect passthrough.

How to change the colour of your alpha passthrough background
Want to change the alpha passthrough background to grey instead of green, or a different color? We've produced a full guide on how to do this using Mistika Boutique.
Alpha Channel Presets:
Adobe Premiere Alpha Channel Presets:
If you're using Adobe Premiere to edit together your VR content, use these project preset files to create alpha channel content for passthrough. This .rar file contains two masks, a sample video and a tutorial.
Adobe After Effects Alpha Channel Presets:
Similarly, if you're using Adobe After Effects to create VR content, use these project preset files to create alpha channel content for passthrough. This .rar file contains the project file, a sample video and a tutorial.
Useful Tips:
- Alpha works in fisheye projection, so export to fisheye - according to our users, view angle 190 works well
- Increase the quality of the alpha channel resolution by upscaling the master video. For example, go from 6K to 8K for an alpha channel with better resolution. This video explains the logic:
If you have any questions, start the discussion on the DeoVR forum.