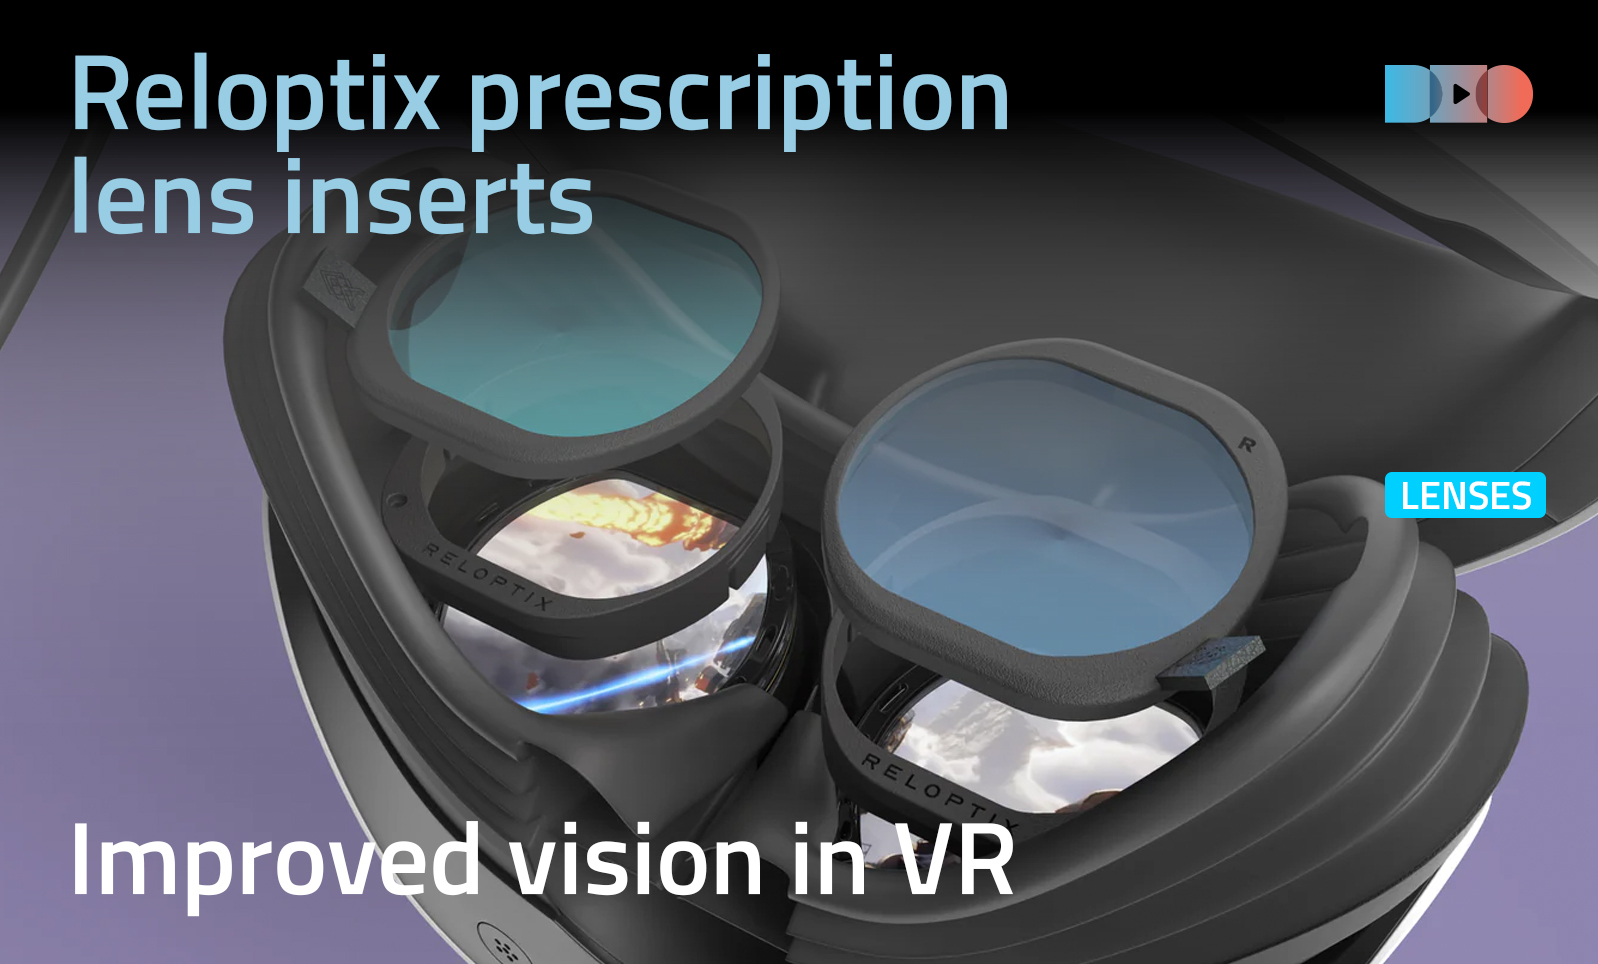
Reloptix prescription lens inserts for your VR headset
Poor eyesight and don't want the inconvenience of wearing glasses in your VR headset? The Reloptix prescription lens inserts for your VR headset could be the answer. They’re a simple way to see those distant details in DeoVR videos, or stop being annoyed by reflections or other irritations caused by wearing glasses in VR. Here’s what you need to know.
What to Expect: Quick Verdict
Reloptix’s prescription lens inserts are a game-changer. They slot right into the headset and deliver a crisp, more immersive VR experience with none of the hassle of spectacles.
Pros
- Sharply improved clarity - finer details and text are noticeably crisper.
- No more glasses hassle - clean, distraction‑free visuals.
Easy to install once you get the hang of the notches.
Cons
- Insertion can feel fiddly at first - the stiff plastic inside the Quest 3 may snag.
- Not ideal for frequent swapping between multiple users (unless you get multiple sets).
Note: For this review, we tested the Reloptix lenses with the Meta Quest 3 but other headsets are covered.
Why Prescription Lenses Matter
The Meta Quest 3 boasts high-resolution LCD pancake optics, delivering around 2K per eye and a 4K+ combined display. Still, for users with even mild vision correction needs, the screens effectively sit at a virtual distance of several feet - making prescription lenses more than just a luxury. Prescription lenses - in theory at least - should eliminate blurriness and eye fatigue, delivering sharper immersion.
How to Insert the Reloptix Lenses - Step-by-Step
- Prep the headset
Remove the headstrap and gently clean both stock lenses and the Reloptix inserts with a microfiber cloth to avoid smudges. - Align and insert
Slide the inserts into the notches inside the Quest 3. The plastic can be stiff and may “catch” as you angle them in. You need to press down firmly to slot them in (but not too firmly, you don’t want to damage anything.) - Set the spacing
The inserts sit slightly further away from your eyes - use the internal notches (the adjustable spacer system inside the Quest 3) to optimize fit and comfort. - Lock the actual lenses in
Once the inserts are seated, the lenses click in snugly. - Test and adjust
Power on the headset. Minor repositioning may be needed to align with your eyes and ensure maximum clarity.
Your experience may mirror mine: it was a bit fiddly initially, but once I followed the official guide, insertion became a breeze.
Visual Impact
- Sharper visuals: A stark, immediate jump in clarity. I’m mildly short-sighted, yet the difference was dramatic.
- Cleaner image: No frames, reflections, or lens glare.
- Comfort boost: Without glasses in the mix, there’s less pressure inside the headset - even for those with mild prescriptions.
In other words: immersion is surprisingly better.
Reloptix vs Other Options
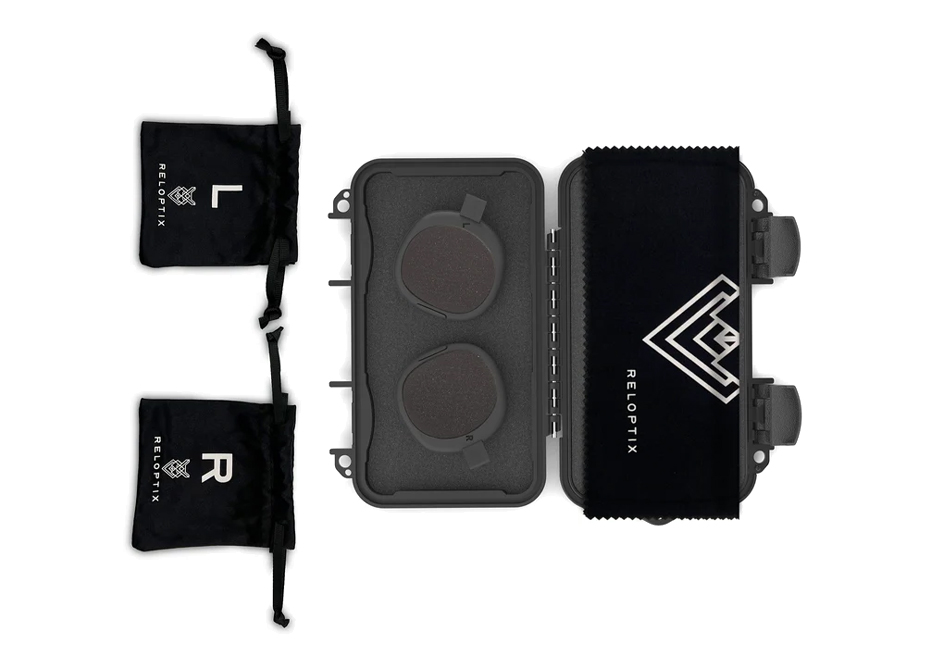
There are other options for these lenses, including VR Optician, VR Wave and Zenni, but Reloptix stands out for its combination of clarity, ease-of-install, and value - especially given the anti-glare/blue-light coating and hard storage case included in the price.
Recommendations
- New users: Give yourself a few tries - initial insertion can be awkward, but becomes smooth with familiarity.
Shared headsets: If you rotate users frequently, having multiple sets may save hassle. - Care & maintenance: Clean regularly with a microfiber cloth, store with care, and avoid extreme temperatures
Final Thoughts - Should You Get Them?
Absolutely - if you want sharper clarity, more comfort, and a clean glasses-free experience in your VR, Reloptix prescription lenses make an already-impressive headset even better. Ultimately, the few minutes spent aligning them are well worth the visual upgrade.
